Developing a project with a Nylas integration can be divided into a few phases. This guide is here to help you along the way. 🚀
- Set up your Nylas account and organization.
- Create a Nylas application for development.
- Plan your project.
- Choose how to authenticate your users.
- Create your provider auth apps.
- Start developing with the Nylas APIs.
- Set up notifications and systems for handling them at scale.
- Set up grant status monitoring using webhooks.
- Set up error monitoring and handling.
- Complete our Production Checklist to get your app through provider security reviews, published, and launched!
Create a Nylas account and organization
Section titled “Create a Nylas account and organization”When you’re ready to start, create a Nylas account. If you’re the first person on your team to create an account, you can make your account the “organization” and invite colleagues who’re helping with development and testing. The account that hosts the organization is the one that has billing details attached to it, so decide amongst yourselves which account should “host” the organization.
An organization represents a company using the Nylas platform. It’s a collection of Nylas applications and Dashboard accounts which are linked together and paid for in the same way. Billing, support, data usage, and feature enablement are handled at the organization level.
When you first sign up with Nylas, your account is on an unpaid trial. Nylas trial environments are limited to 10 grants and don’t include message tracking (analytics) features, but are otherwise the same as paid environments. If you need to test message tracking, contact your Nylas sales representative.
To invite teammates to a Nylas organization…
- Log in to the Nylas Dashboard.
- Expand the account dropdown at the top-right of the page.
- Under Organization, select Add Team Members.
- Enter your teammate’s email address and choose a role for their account.
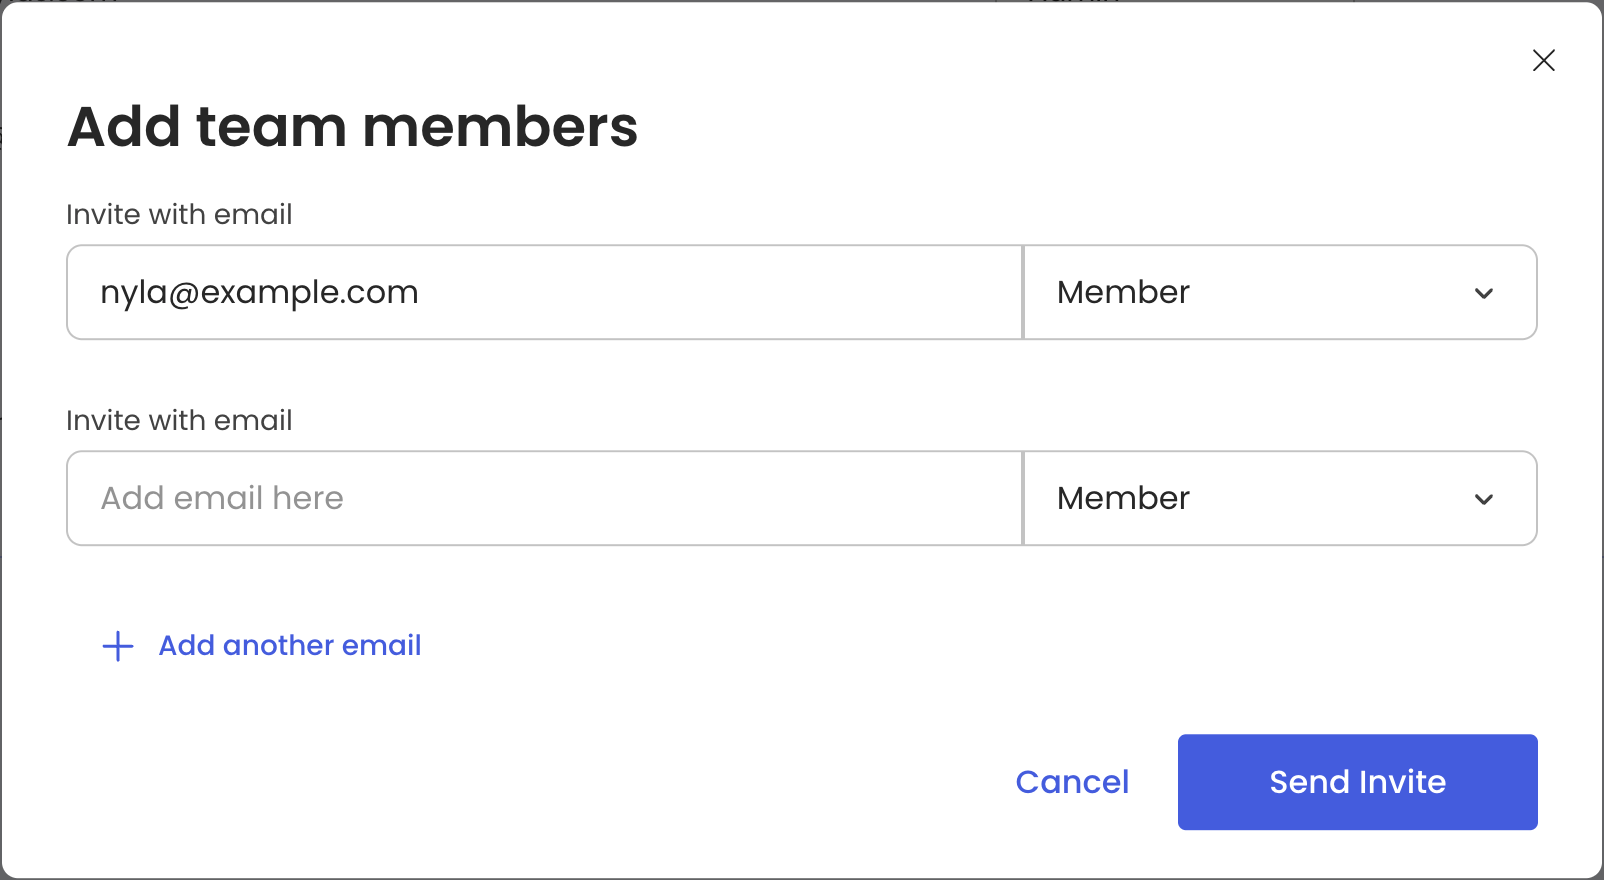
- Click Send Invite.
Nylas sends an email containing an invitation link. When your teammate clicks the link, they’re prompted to create their own Nylas account. Their account is automatically associated with your organization. If you or a teammate created a Nylas account without clicking an invitation link, contact Nylas Support to add the account to your organization.
Create a Nylas application for development
Section titled “Create a Nylas application for development”Each organization can have multiple Nylas applications registered to it. When you first create your account, Nylas creates a Sandbox application for you to use to test out the services.
We strongly recommend you set up separate Nylas applications for your development, staging, and production environments. Each application has a unique client ID and secret which you use to manage and authenticate your users’ grants.
Your application’s client ID, client secret, and API key allow you to manage grants and application settings. You should treat them like any other credentials and store them securely.
To create a development application…
- Expand the application list at the upper-left of the Nylas Dashboard.
- Click Create new application.
- Give the application a name, a brief description, and choose the data residency region and environment.
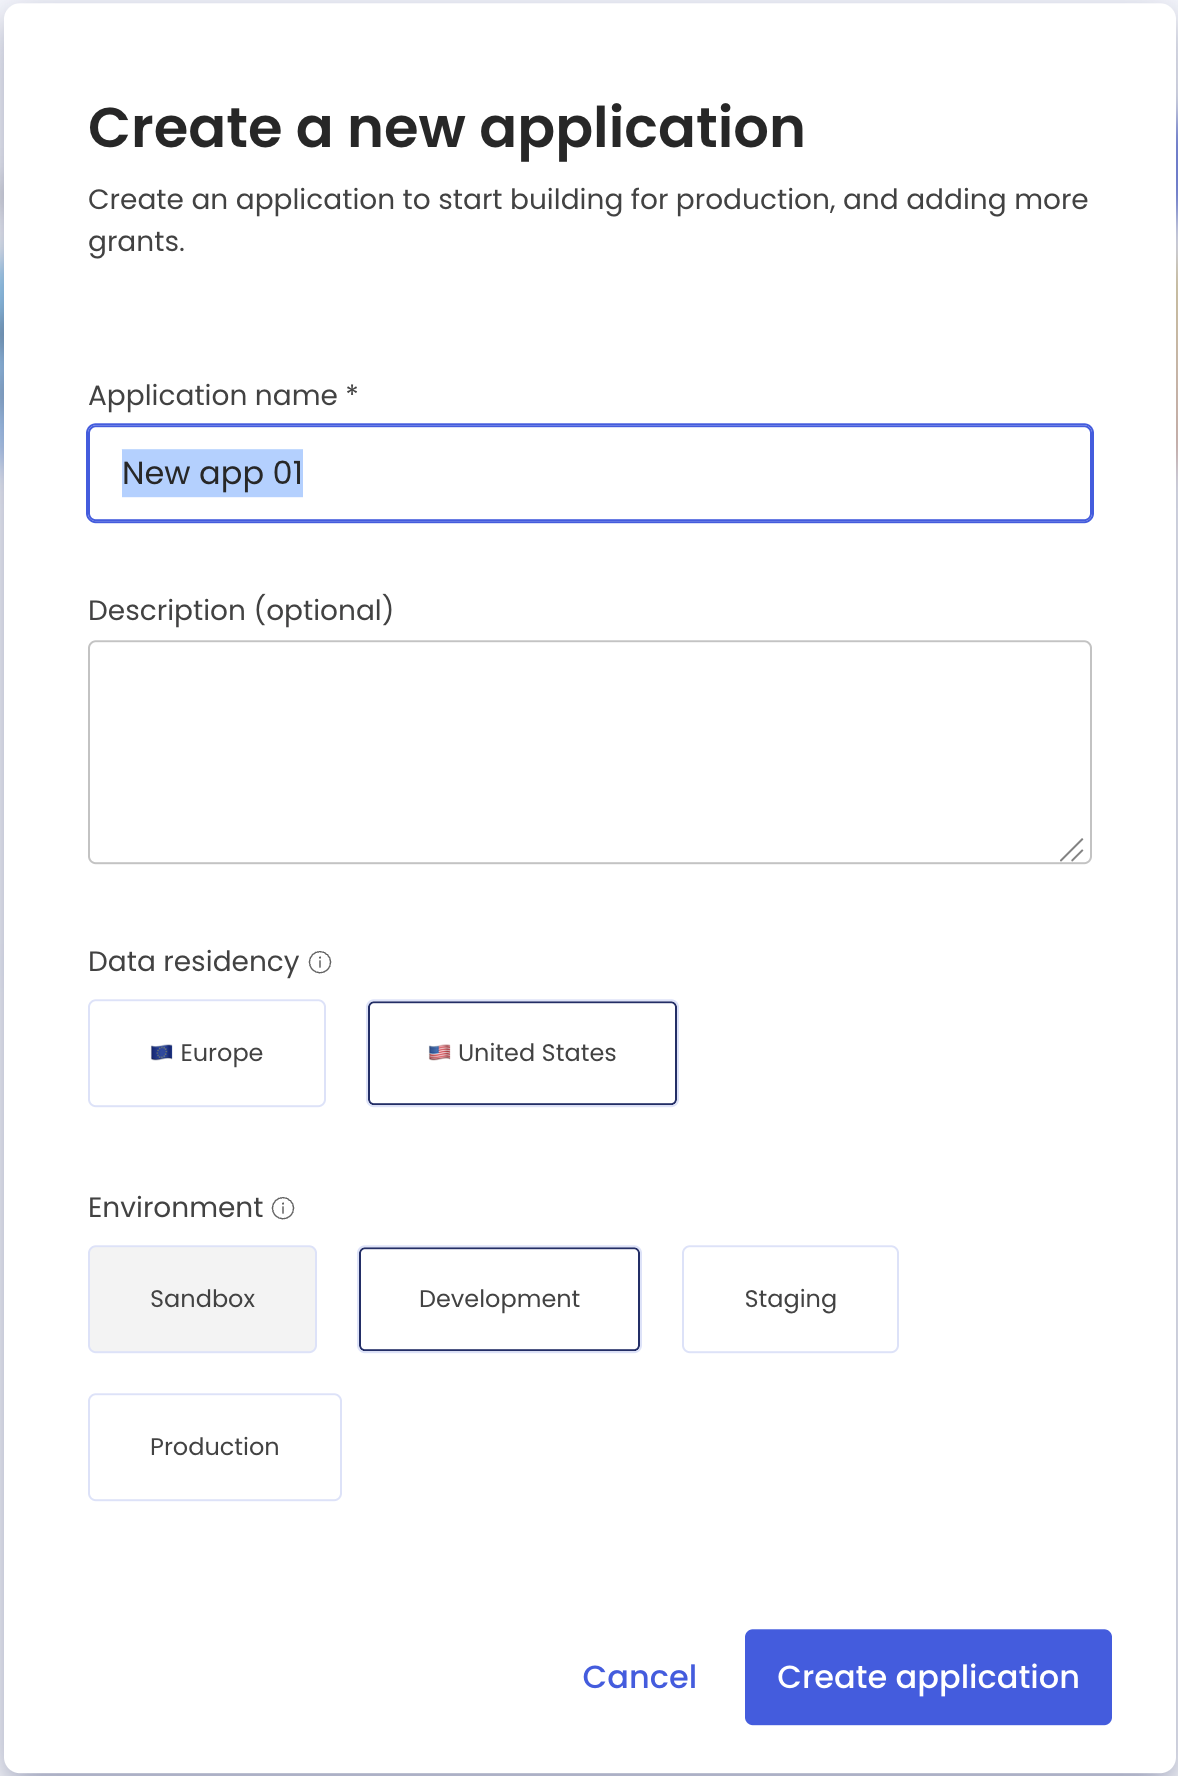
- Click Create application.
Plan your project
Section titled “Plan your project”Your project will use the Nylas APIs to access your users’ accounts on their behalf, and webhook notifications to monitor activity that your application needs to know about.
Before you start integrating with Nylas, you should list the activities that you want to do in your project that require access to the service provider, and the results and changes you want to monitor to inform how your application responds. For example, if you’re building a calendaring app, you know that you’ll need to read a user’s calendar so you can pick an available time slot. You also know you want to write to the calendar so you can create events. Perhaps you also want to choose from a list of the user’s contacts when inviting people to the event, which requires read access to their contacts list.
But what happens if a participant declines the event invitation? Or if the creator cancels the event from outside your application? You’ll want to monitor for these changes using webhook notifications, so your application can respond appropriately.
Once you have a list of objects you want to interact with and get notifications about, you can review the list of scopes for each provider and the webhooks references.
Choose how to authenticate users
Section titled “Choose how to authenticate users”Nylas offers two ways to authenticate grants based on your project’s requirements: Hosted Authentication and Custom Authentication.
For most projects, we recommend Hosted Authentication. When you use Hosted Auth, Nylas automatically detects the email provider the user is authenticating with, passes the user through the auth process with that provider, and returns them to your project. The work required to integrate Hosted Auth is minimal.
If you want to completely hide Nylas’ branding and your users’ provider details in the auth process, you might want to use Custom Authentication. This can require a lot of development work, however.
You might also want to read more about the authentication requirements for individual service providers:
If you need to create a provider authentication application (for example, a Google Cloud Platform project), you should start that now.
Store user access tokens and user data securely
Section titled “Store user access tokens and user data securely”During the authentication process, Nylas passes a user access token to your project. Your project needs this token so it can make requests to the Nylas APIs on the user’s behalf. You’ll need to store this token in your project, and you might want to cache or store other user data to avoid making unnecessary API calls. This information should be encrypted using a modern algorithm, both in transit and at rest. If at all possible, you should also use a secrets manager from your infrastructure provider.
Failure to follow security best practices might prevent your application from passing provider verification processes. See our security best practices for more information.
Create provider auth apps
Section titled “Create provider auth apps”If you expect to connect to Google or Microsoft accounts, you’ll need to create a provider auth app to connect to their servers.
You can use provider auth apps with internal company accounts for development and testing with no extra steps. You’ll need to get it reviewed by the provider, however, before you can “go live” with your project. We recommend you maintain a provider auth app for each of your environments so you can make changes in your development and testing environments without affecting your production users.
Creating a provider auth app is straightforward, and you can create one (or several) quickly so you can start developing. The provider review can take several weeks, however, and depends entirely on the provider’s review process and which scope your project requests. Be sure to plan this into your development timeline!
Google application review
Section titled “Google application review”You might need to take extra steps to comply with Google’s OAuth 2.0 policies and complete their verification process before you can publish your Google auth app.
Be sure you’re requesting only the most restrictive scopes that you need for your project. If you request any of Google’s restricted scopes, Google requires your application to complete a security assessment. This could extend your verification timeline significantly or cause Google to fail your review.
For more information, see our Google verification and security assessment guide.
Start developing with Nylas
Section titled “Start developing with Nylas”After you get your authentication flow set up, authenticate a test grant or two so you can work with the Nylas APIs.
Nylas maintains SDKs in Node.js, Python, Ruby, and Kotlin/Java. You can use any of them to interact with the Nylas APIs, or use a plain HTTP library instead.
If you already know what you’re going to build, or if your project is already mostly finished, you can read through the Nylas API references or our guides for working with the Email, Calendar, and Contacts APIs.
If you’re just starting out and you’re not sure where to begin, Nylas maintains a repository of code samples and a set of fully functioning demo applications you can use for inspiration. You can also use our Postman collection to test the Nylas APIs.
Set up notifications
Section titled “Set up notifications”After you’ve made a couple calls to the Nylas APIs, you should think about which events you want to know about so your project can respond to them appropriately. If you completed the planning exercise earlier, that’s a great place to start. If you’re building as you go, see our list of notification schemas for ideas.
Nylas allows you to subscribe to notifications using webhooks, Pub/Sub queues, or a mix of both. You can use notifications both to run core functionality in your project and to monitor for undesirable events (like errors!) so your application can handle them gracefully.
You should also consider the volume of notifications you’re likely to get from your project and plan for scaling them appropriately. See our best practices for webhooks for important tips and considerations to help your setup run smoothly and scale gracefully.
Set up grant status monitoring
Section titled “Set up grant status monitoring”Your users are the life of your project, so it makes sense to keep a close eye on the state of their grants. After you have authentication set up, make sure you subscribe to the grant state webhook triggers so you can get alerts when users run into problems and take appropriate action. This could be re-authenticating the user, sending them a prompt to re-authenticate or accept updated scopes, using an incremental backoff approach, or other actions specific to your project and use case.
If you’re authenticating using a Google provider auth app, make sure to set up Pub/Sub. This ensures webhook notifications are delivered in a timely manner.
You can also use the timestamps from the grant state webhook notifications to check the user’s data for the period their grant was experiencing problems, after the issue is solved.
You can subscribe to these triggers either from the Nylas Dashboard, using the webhooks endpoints, or using Nylas’ SDKs.
User data and authentication lifecycle management
Section titled “User data and authentication lifecycle management”Although Nylas access tokens don’t expire, you can assume that you’ll need to plan for authentication changes. These may pop up because of user actions or changes to provider policies. For example, if a user explicitly disconnects from or logs out of your application, you should revoke their Nylas access token to minimize the number of active tokens. You should also revoke any unused tokens when a user re-authenticates. See Managing grants for more information.
You should also think about how you want to handle changes in permission scopes (for example, if your project adds new functionality that needs more access). Scope changes require the user to re-authenticate and explicitly confirm that they’re granting access to the new scopes.
If you choose to store your users’ data in your own database, you need to store their access tokens securely.
Set up error monitoring and handling
Section titled “Set up error monitoring and handling”Nylas has robust built-in strategies for handling provider errors and other normal network weather. Despite this, there are situations you should monitor and decide how to handle.
- Invalid credentials: When an account’s OAuth token expires, is revoked, or their password is changed.
- API errors: When your project makes a request to the Nylas APIs and you get a non-
200HTTP status code response, or a network error. - Account sync errors: Persistent errors that prevent Nylas from getting the latest changes from the provider or writing new updates to the provider.
See Monitoring and error handling for a list of common error states and best practices for handling them.
You might also want to monitor your webhooks for errors and implement retry, backoff, and restart logic based on their status.
Production checklist
Section titled “Production checklist”Before you go live with your project, be sure that you’ve…
- Set up authentication and created connectors for all providers you plan to support.
- Set up webhook or Pub/Sub notifications and systems for handling them at scale.
- Set up error monitoring and handling for your systems.
- Reviewed the scopes your project is using to ensure you’re only requesting those that you need.
- Started a provider security review for your provider auth apps. See our Google verification and security assessment guide, Microsoft verification guide, and the general provider guides for more information.
Now it’s time to go live and celebrate! 🥳