Nylas’ data residency offerings enable you to comply with legal requirements related to storing personally identifiable information (PII) in different regions around the world. As your data sub-processor, Nylas provides the tools and controls necessary to manage and configure where your users’ data is stored. Nylas offers data storage in two regions: the U.S. and Europe.
Each region is completely isolated, and data can’t pass between them. You need to create, configure, and manage a separate Nylas organization for each region that you want to store user data in. Your Nylas application must also be aware of which region a user belongs to so it can query the appropriate APIs.
Data residency regions
Section titled “Data residency regions”| Region | Dashboard URL | API URL | Tracking URL |
|---|---|---|---|
| U.S. (Oregon) | https://dashboard-v3.nylas.com | https://api.us.nylas.com | https://tracking.us.nylas.com |
| Europe (Ireland) | https://dashboard-v3.nylas.com | https://api.eu.nylas.com | https://tracking.eu.nylas.com |
All information about your Nylas organizations and Dashboard users is stored in the European data center. When users in the U.S. access the Nylas Dashboard, their authorization is processed through the server in Ireland.
Your application data, connector data, and grant information is stored in the data center associated with your Nylas application.
Get started with a new region
Section titled “Get started with a new region”The steps to set up data residency with Nylas are the same for all regions:
- Log in to the Nylas Dashboard and click Create new app.
- Give the application a name, a brief description, and choose the data residency region and environment.
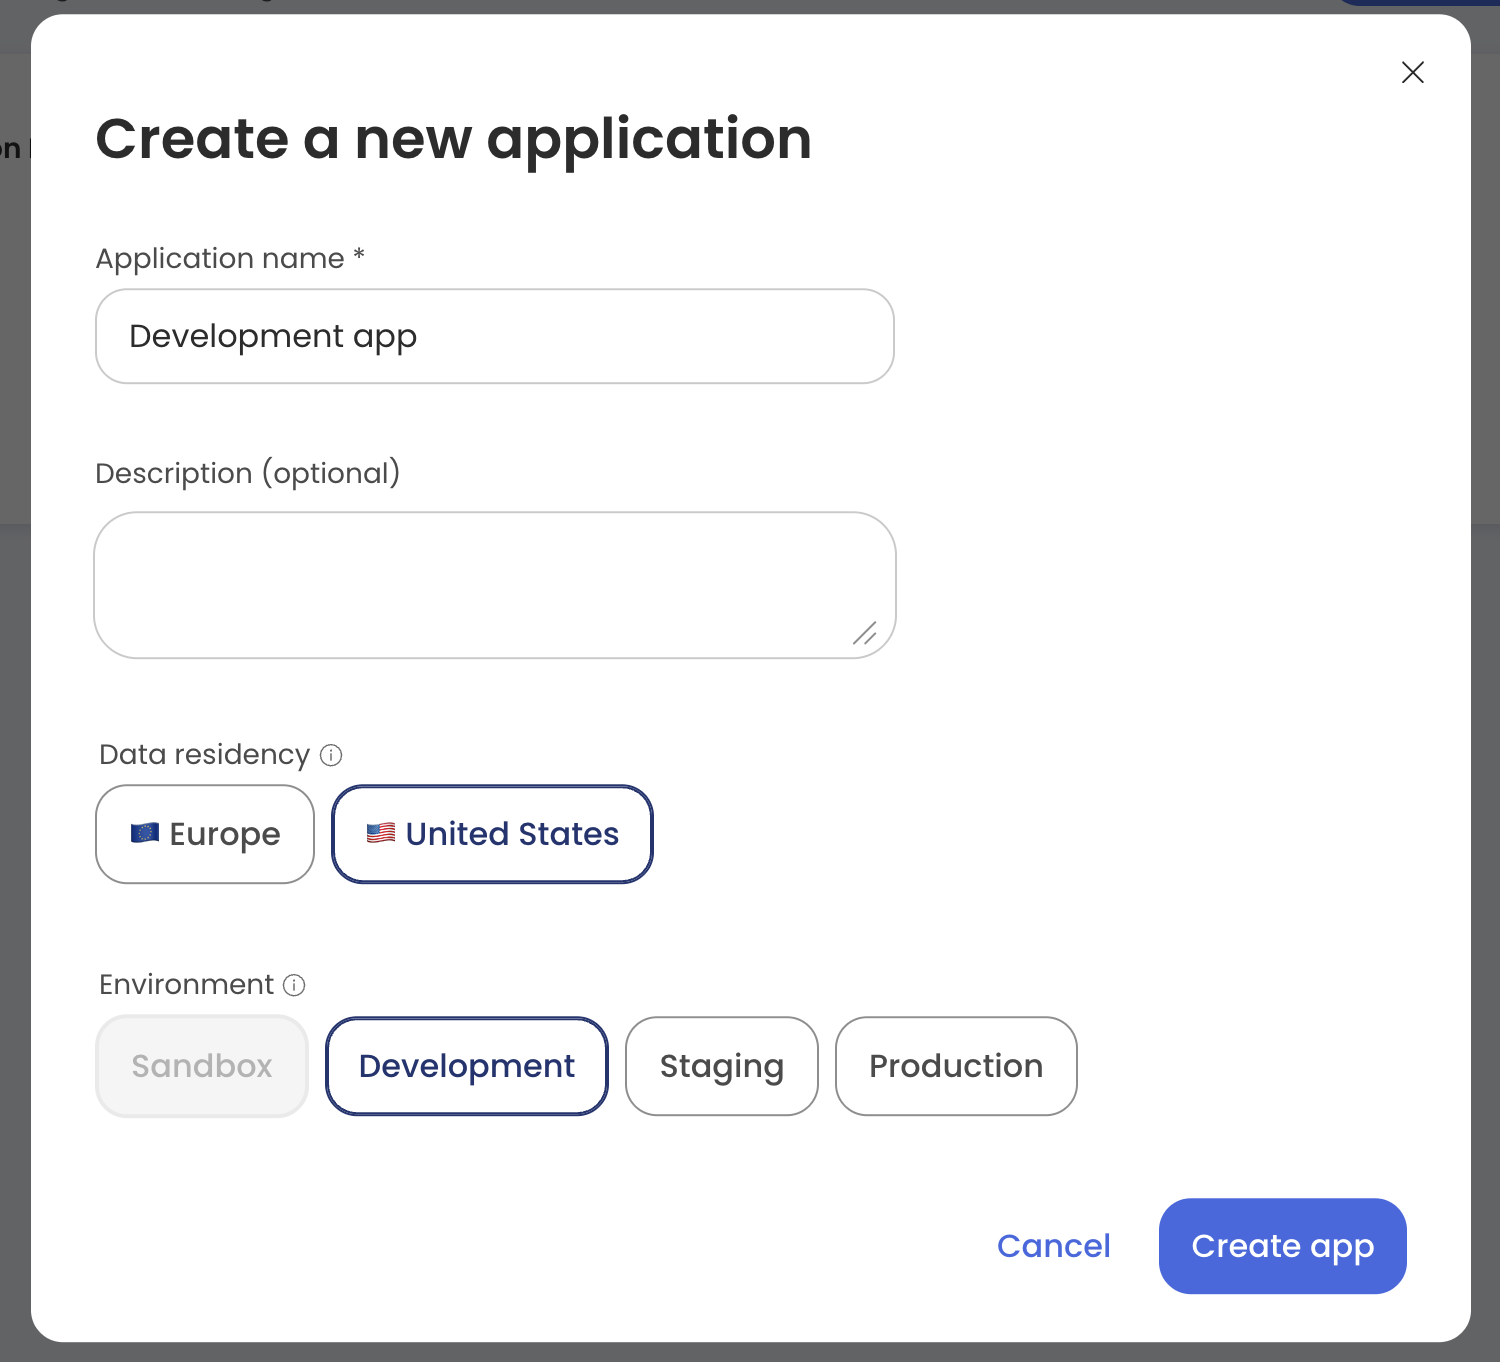
- Click Create app.
Configure base API URL in Nylas SDKs
Section titled “Configure base API URL in Nylas SDKs”The Nylas SDKs support changing the base API URL. Be sure to use the appropriate URL for your Nylas organization’s region.
const NylasConfig = {  apiKey: "<NYLAS_API_KEY>",  apiUri: "<NYLAS_API_URI>",};
const nylas = new Nylas(NylasConfig);
from nylas import Client
nylas = Client( os.environ.get('NYLAS_API_KEY'), os.environ.get('NYLAS_API_URI'))#!/usr/bin/env rubyrequire 'nylas'
nylas = Nylas::Client.new( api_key: "<NYLAS_API_KEY>", api_uri: "<NYLAS_API_URI>")Change data residency region
Section titled “Change data residency region”You need to take a few steps to migrate your existing Nylas application to a new region:
- Log in to the Nylas Dashboard and create an application in your desired region.
- Set up your authentication flow.
- Migrate grants to your new application. You can migrate the grants immediately, or migrate new grants first.
- Migrate grants immediately: Migrate all your grants within the same month that you set up the new Nylas application, then contact Nylas’ Billing team to adjust your bill.
- Migrate new grants first: Have new users authenticate with your new Nylas application, then migrate existing grants using a targeted approach. This strategy helps to mitigate extra work when setting up new users’ grants.
- Have your existing users re-authenticate with your new Nylas application.
- Make
DELETE /v3/grants/<NYLAS_GRANT_ID>requests to delete duplicate grants from your old Nylas application.
Manage migrated data
Section titled “Manage migrated data”When you migrate your users to your new Nylas application, their grants are considered to be new connections. Because of this, Nylas needs to fetch all of their data again. Nylas also creates new IDs for every object it fetches. To connect the data, you can merge the information from your old Nylas application with the objects in your new application using their unique Calendar and Message object IDs.
Grant and object IDs are unique to each Nylas application. Be sure to update IDs that your project directly references after you migrate your data.
You’ll also need to update your webhook and SDK configurations for your project’s new data residency settings.